

Pick your providers
Open Desktop and choose Set up Hoista. Tick every provider your projects run on, then choose Connect.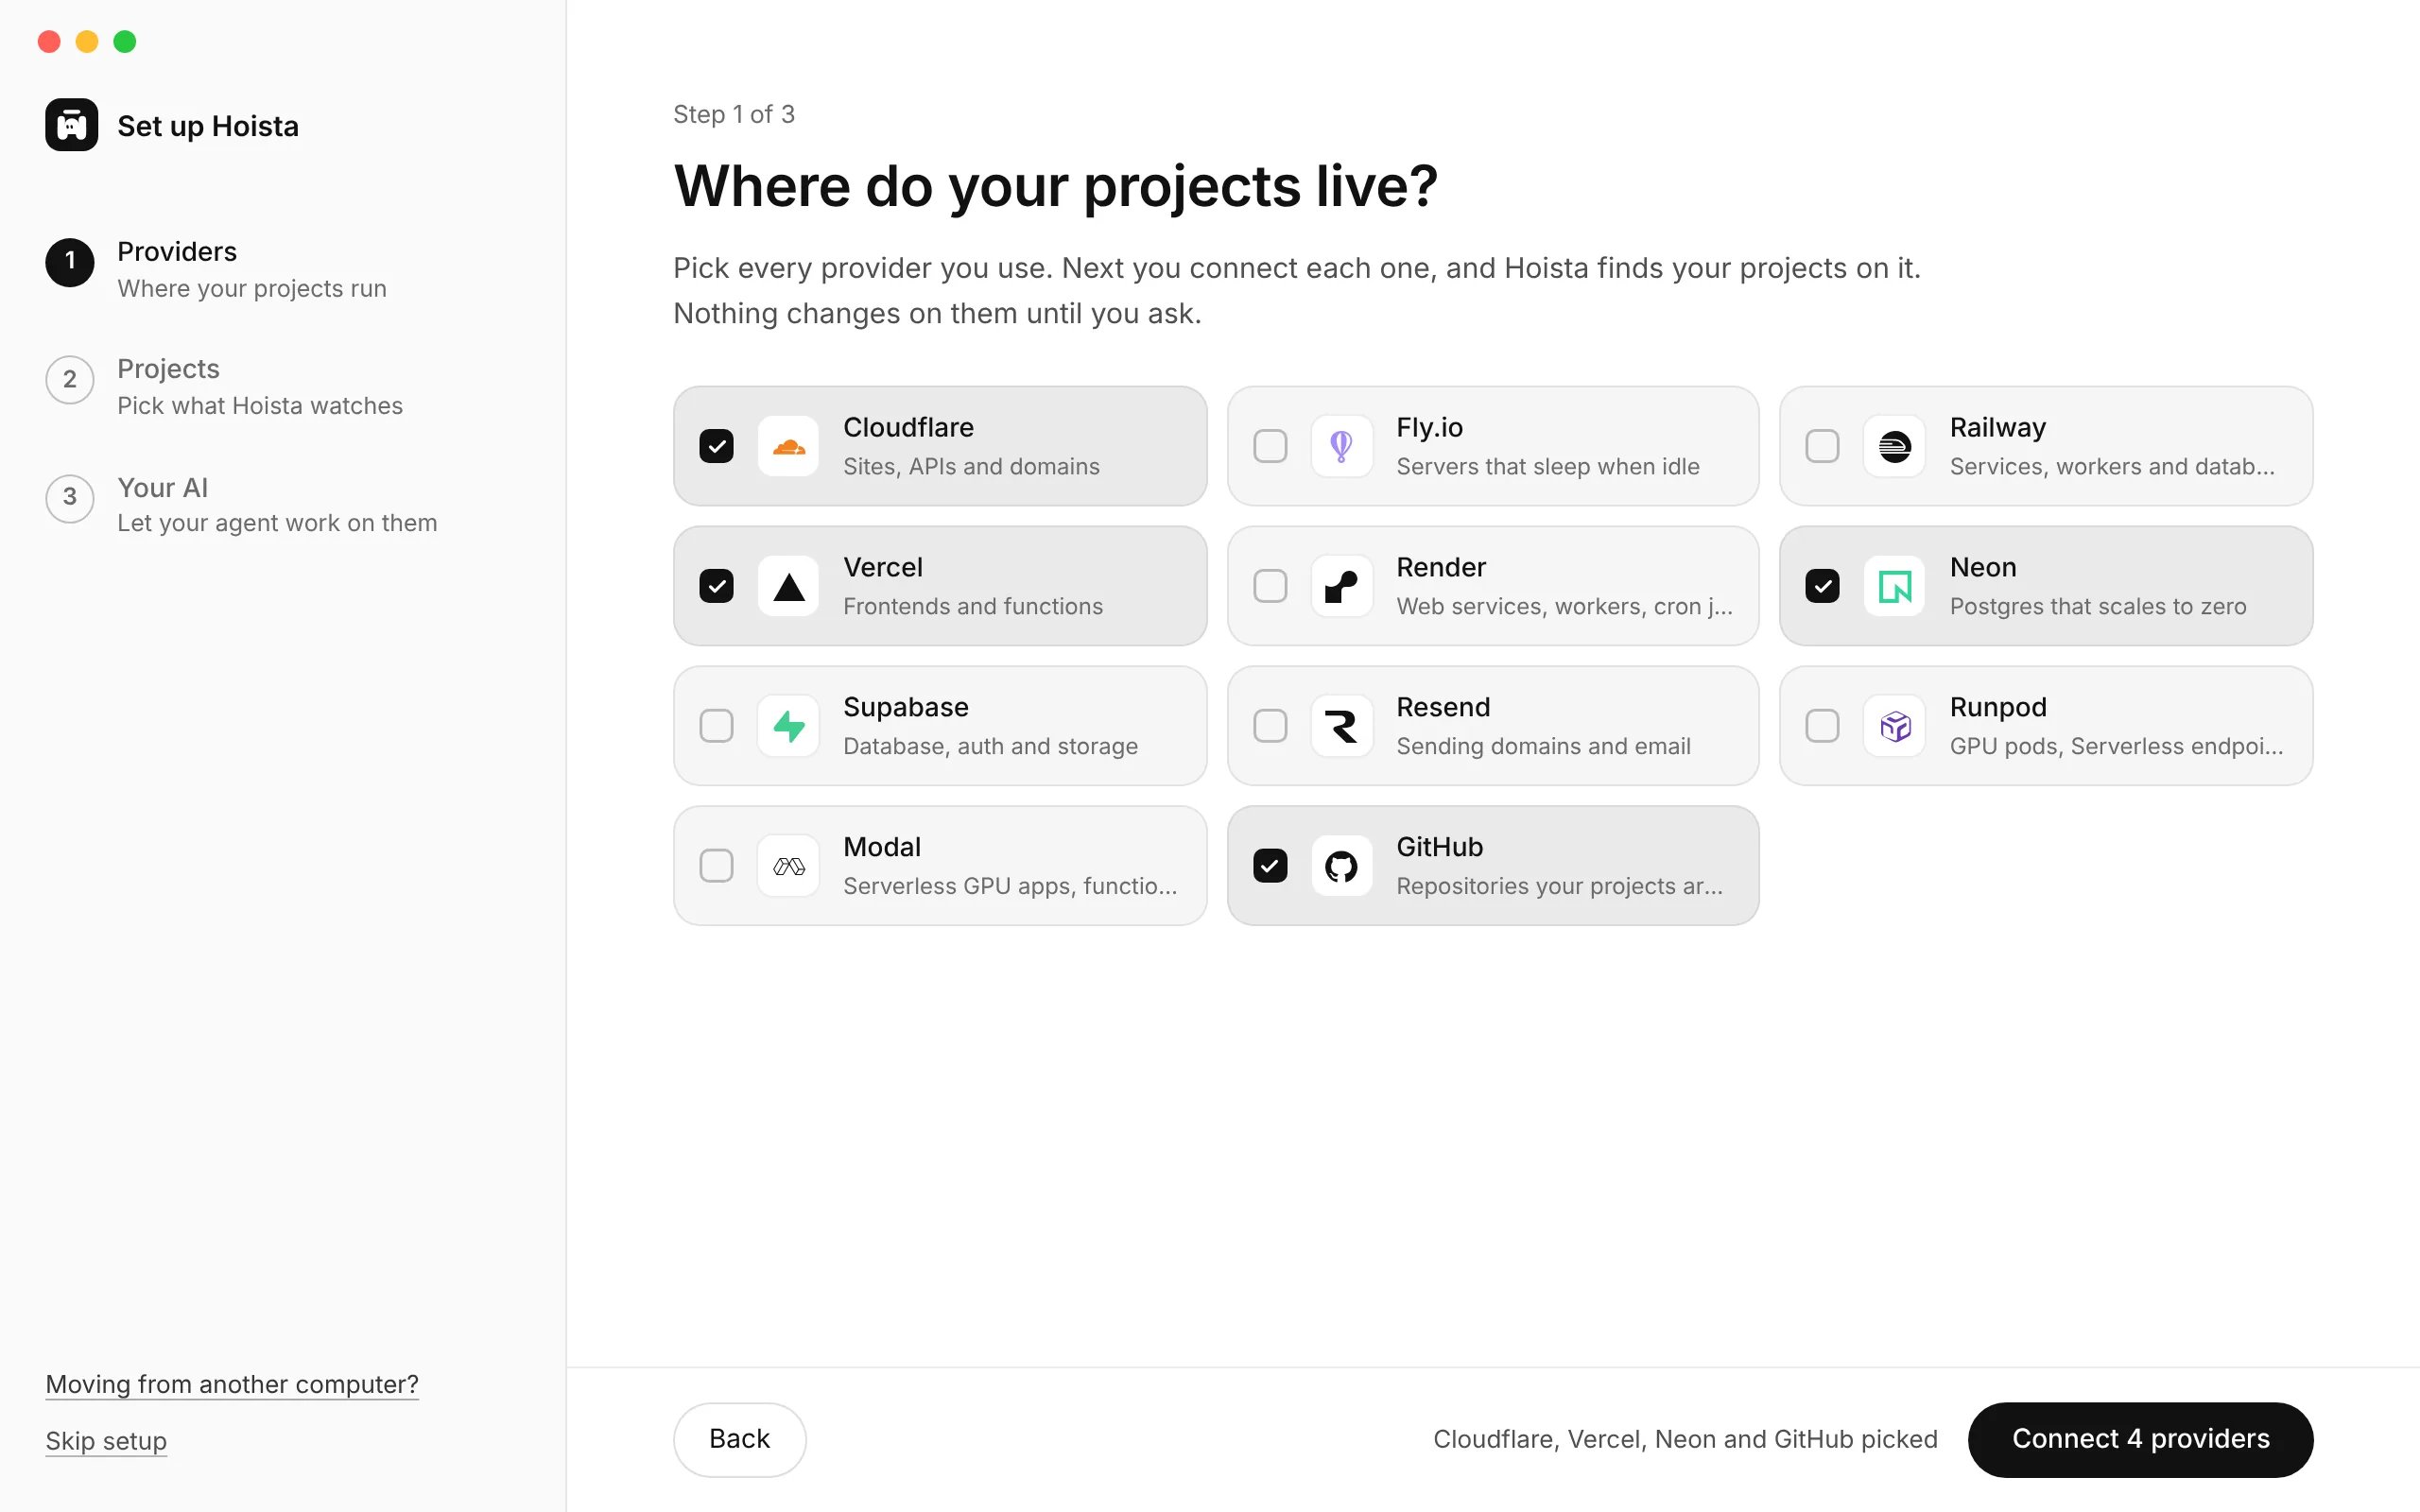
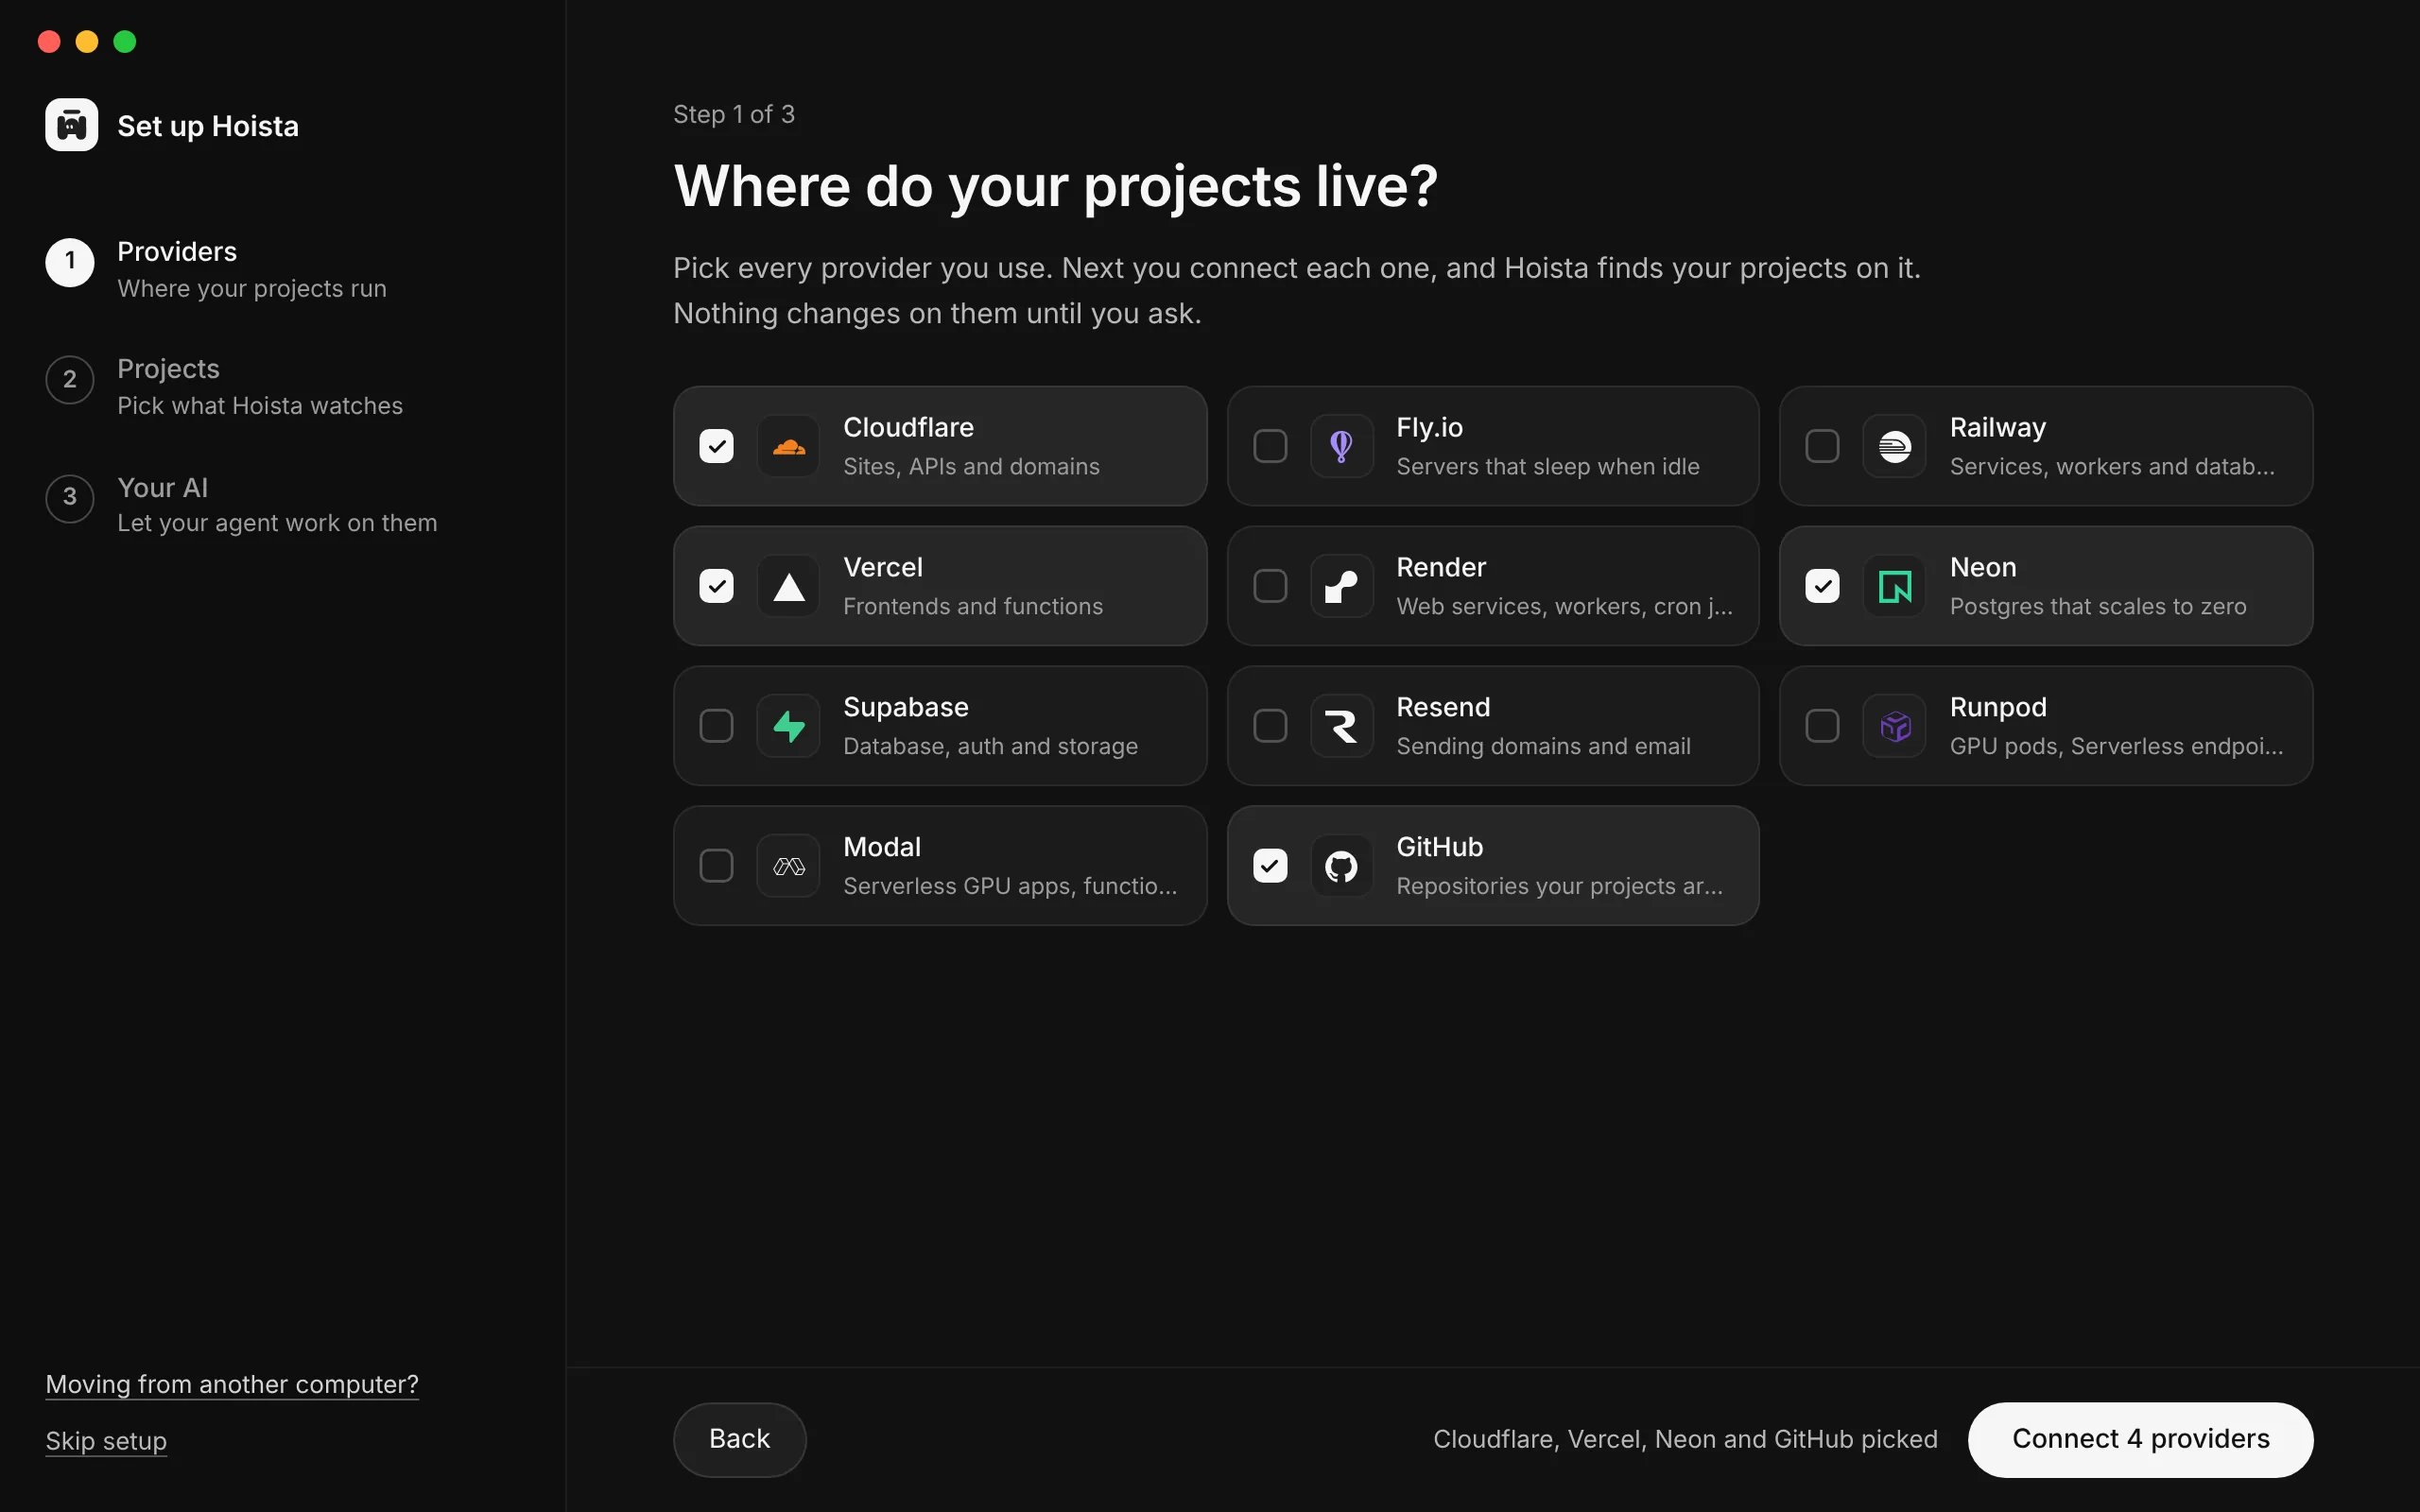
Setup, step 1, with Cloudflare, Vercel, Neon and GitHub picked.
Connect each one
Choose Connect beside a provider. Where the provider offers it, Hoista opens its page so you can approve Hoista in your browser. Otherwise, paste an API token: Open the tokens page takes you to the right page, and Step-by-step guide walks you through it. Hoista checks the token works before saving it.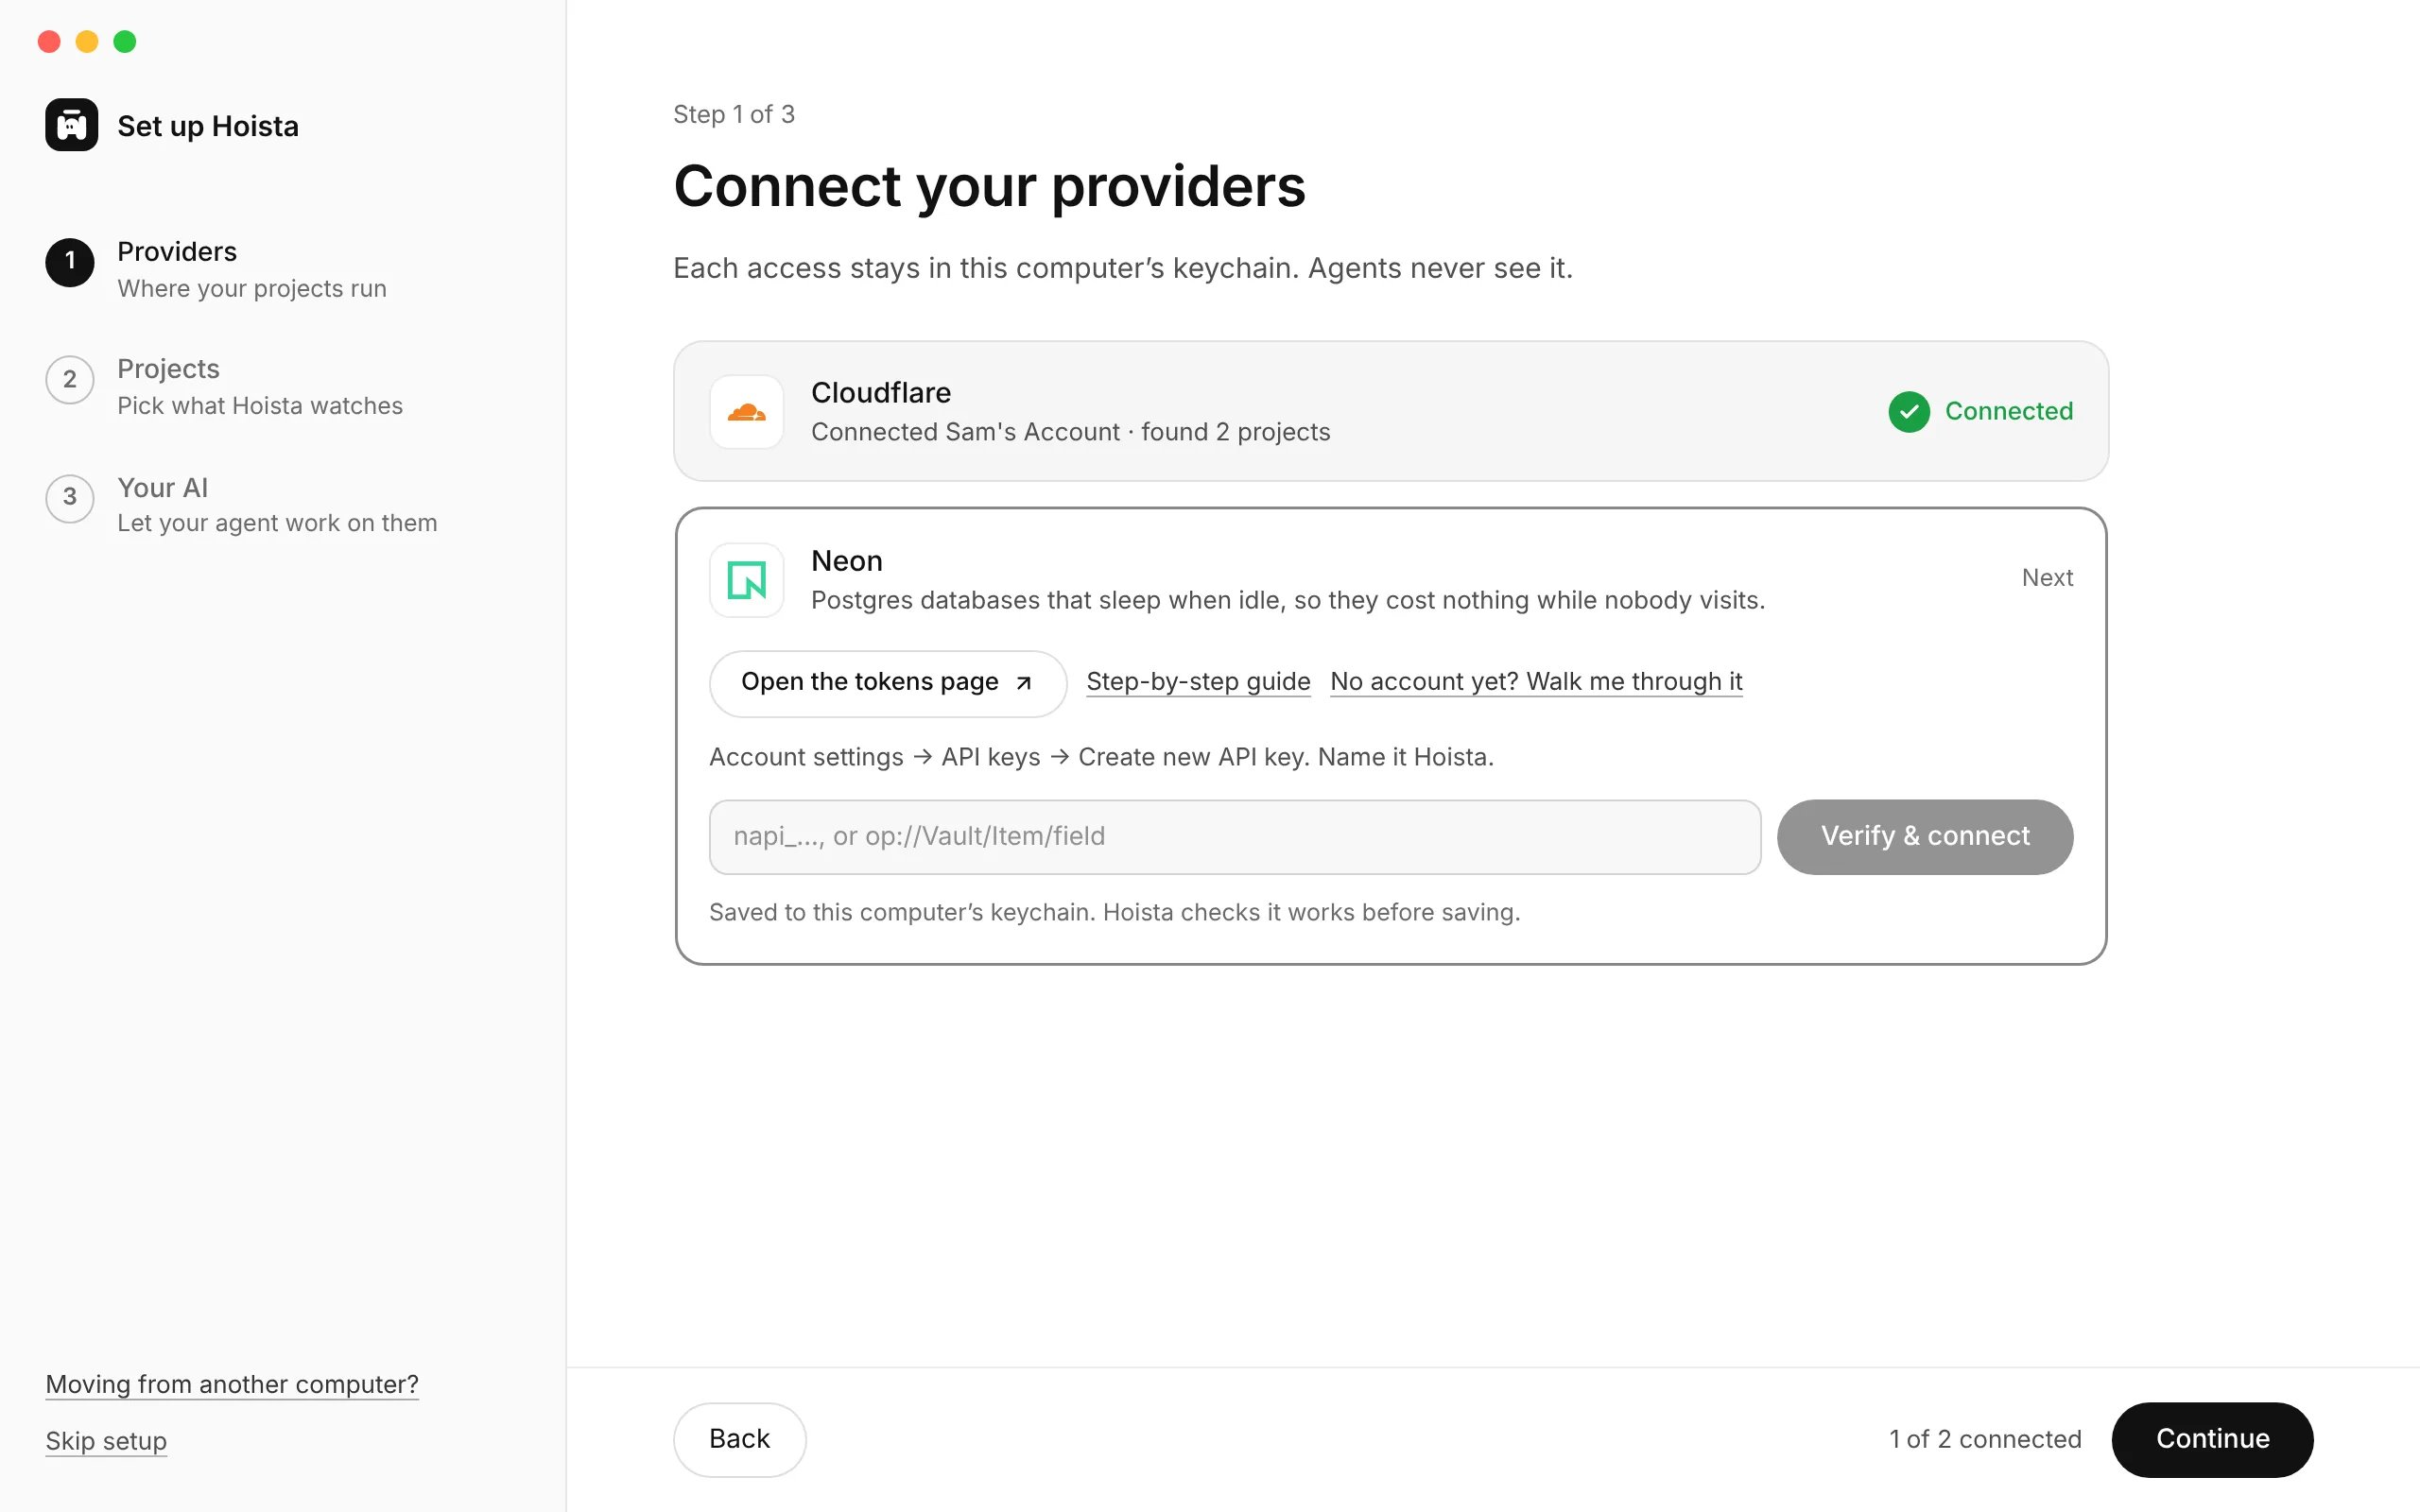
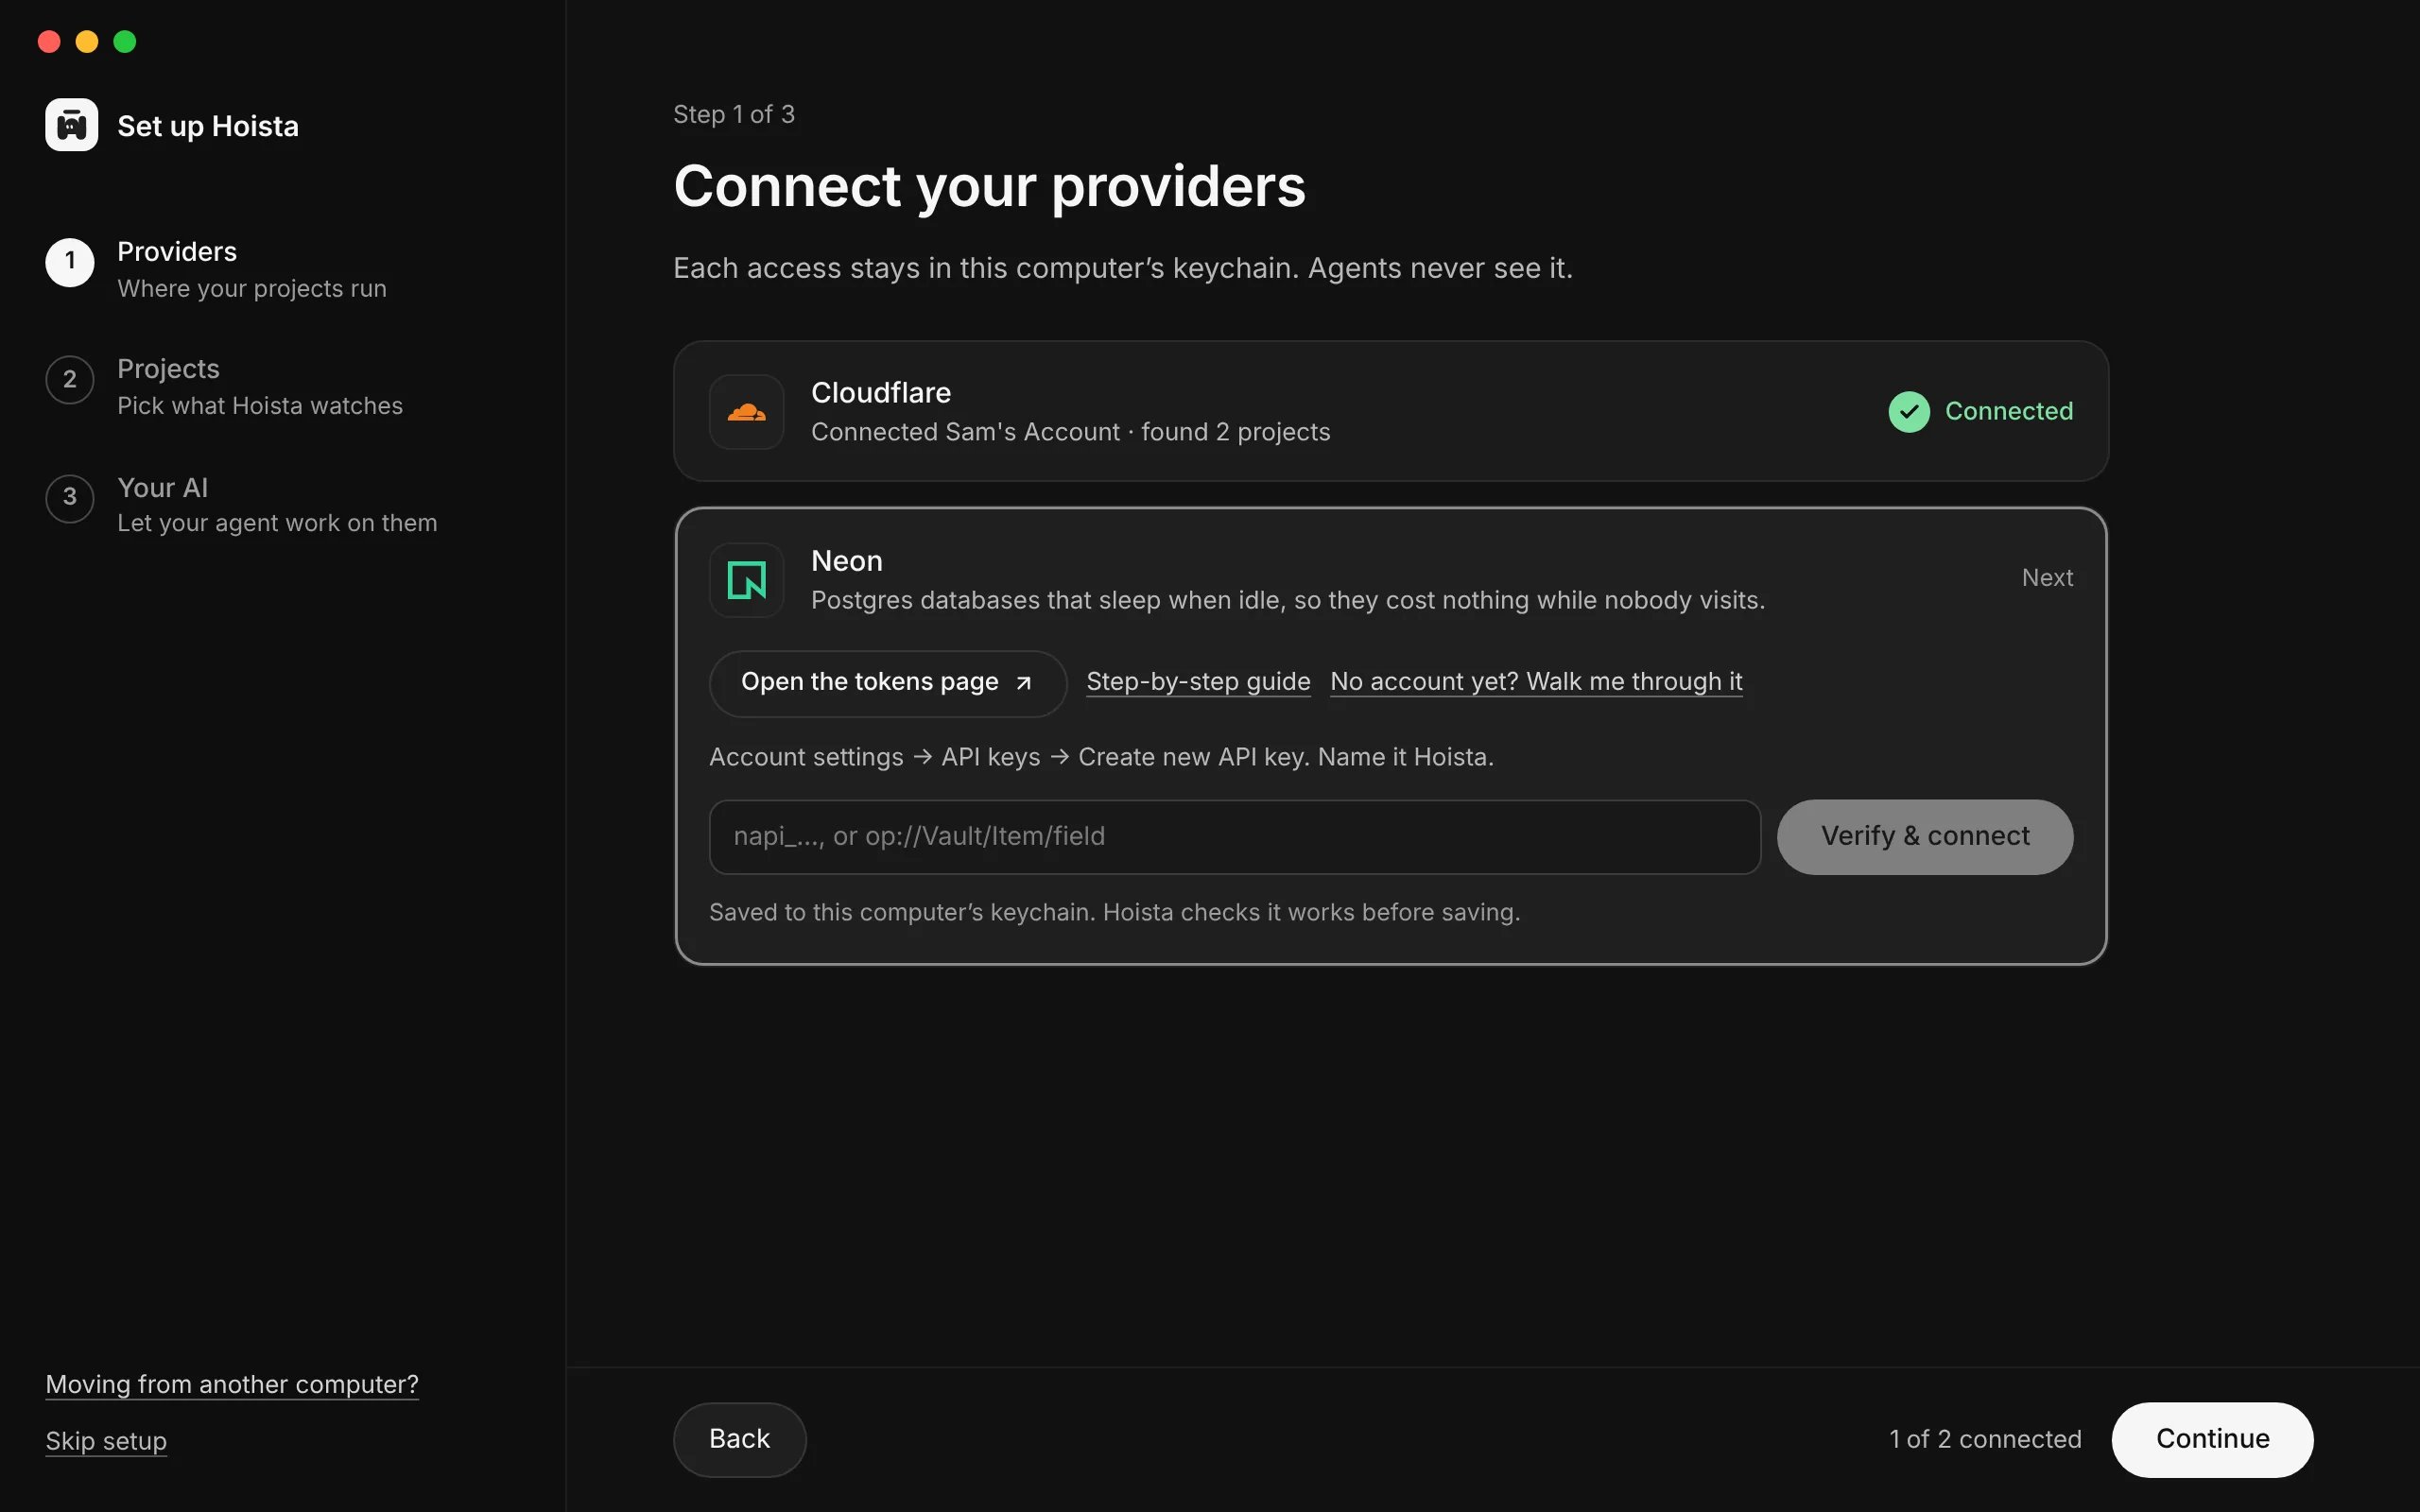
Cloudflare is connected. Neon is waiting for a token.
hoist accounts add asks which provider to use, then reads its token through a hidden prompt.
The token stays in this computer’s keychain and only the daemon reads it:


The token stays in this computer’s keychain. Hoista reads the account and changes nothing on it.
Pick what Hoista watches
Each project found on a provider comes in as a Hoista project of the same name. Untick anything to leave out, or change which Hoista project it goes into, then choose Import. Imported projects are in watching mode: the provider keeps running them its own way, and nothing changes there. From the command line,hoist import lists what it found and lets you pick. In a script, run hoist import --list and pass the resource IDs: hoist import RESOURCE_ID --new my-app.
Look at a project
Open a project to see its Overview, Deploys, Logs and Metrics.Deploy something new
Desktop has no deploy form. Deploy from the CLI, or ask a connected agent to “Deploy this project with Hoista”.Without Desktop
Every step above works from the CLI alone. Commands start the daemon when they need it, so Desktop does not have to be open. Runhoist doctor if something fails, and see the CLI reference for every command.
Related
Connect an agent
Let a coding tool or chat app use Hoista.
Plan and deploy
Review a plan, deploy it and roll back.
How Hoista works
Accounts, projects, resources and the daemon.