

Connect
In Desktop, open Accounts, choose Cloudflare, and paste an API token:- Open API Tokens: My Profile → API Tokens → Create Token → Start from scratch. Name it Hoista.
-
Add these permissions.
- Paste the token into Hoista and pick the account.
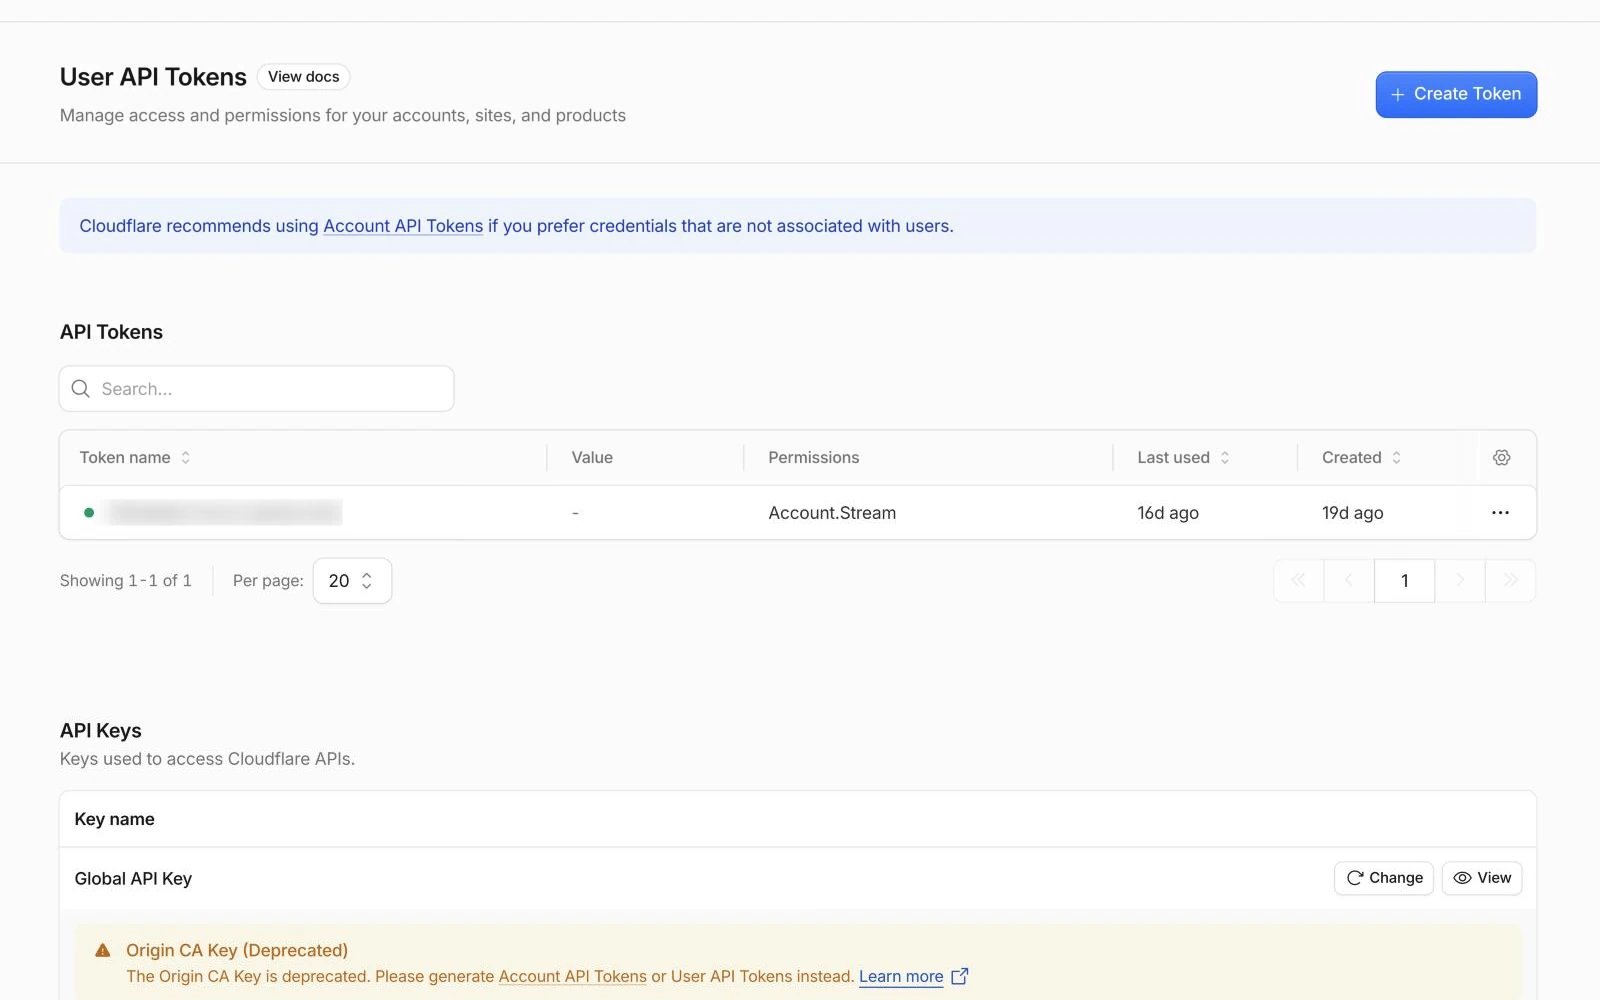
Cloudflare’s User API Tokens page, captured November 2026. Personal details are blurred. If yours looks different, the names in the steps still match.
hoist accounts add cloudflare --name NAME --token-stdin, and add --account <account-id> if the token reaches more than one account. The account ID is the long ID in your dashboard address.
What you can do
- Deploy a Worker from a folder with
hoist deploy, and roll back withhoist rollback. - Create a D1 database or an R2 bucket.
- Set variables and secrets on the Variables tab or with
hoist env. - Add custom domains on your zones with
hoist domains add. - Follow a Worker’s live logs on the Logs tab or with
hoist logs --follow. - See metrics, and daily usage with
hoist usage. - Use the Cloudflare tab for Cloudflare’s own settings and actions, such as Cron Triggers, DNS records and D1 Time Travel.
- See what Cloudflare has billed the account on Billing.
Bring in existing resources
Hoista looks for resources when you connect. In Desktop, add them as described in Bring in an existing project. From the CLI:hoist projects manage my-app when you want Hoista to make changes. If something is missing, check the token’s permissions and run hoist accounts refresh <account> with the name or ID from hoist accounts.
Related
Providers
What Hoista supports on each provider.
Connect hosting accounts
Connect, check and rotate accounts.
Bring in a project
Add what an account already runs.