

Connect
In Desktop, open Accounts, choose Railway, and paste a token:- Open Tokens: Account Settings → Tokens → Create token. Name it Hoista and pick your workspace. No workspace gives the token every workspace.
- Copy the token and paste it into Hoista.
- If Hoista asks for the workspace ID, press ⌘K in Railway and choose Copy active workspace ID.
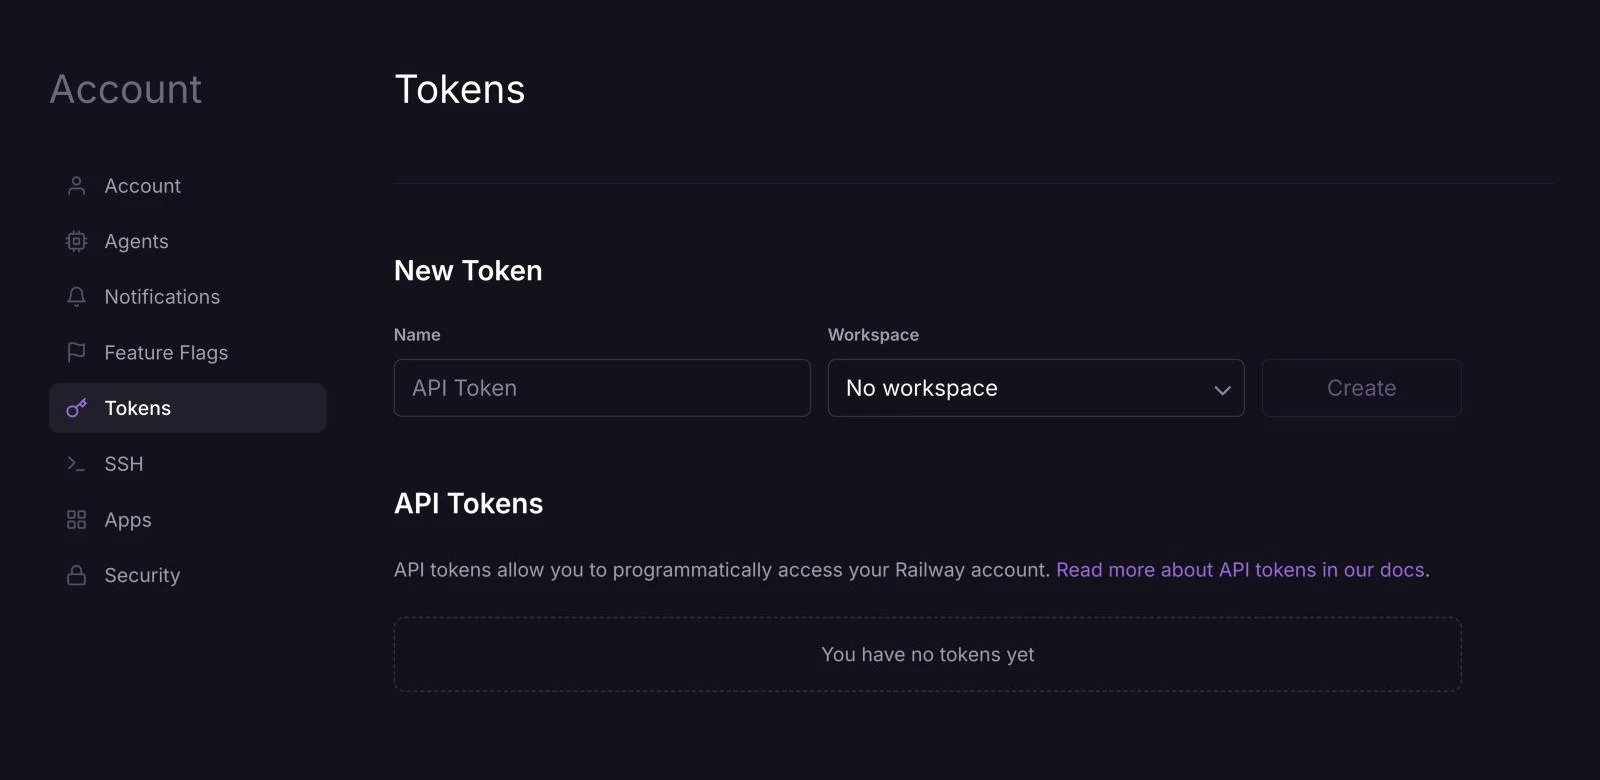
Railway’s New Token page, captured November 2026. Personal details are blurred. If yours looks different, the names in the steps still match.
hoist accounts add railway --name NAME --token-stdin, and add --account <workspace-id> if the token reaches more than one workspace.
What you can do
- Deploy a service from a folder, a GitHub repository or a container image.
- Redeploy or roll back a service through Railway’s deployments.
- Add a database or a bucket to a Railway project.
- Read and change variables on the Variables tab.
- See logs for the service’s latest deployment, metrics, and daily usage with
hoist usage. - Use the Railway tab for Railway’s own settings and operations.
- See what Railway has billed the workspace so far this period on Billing.
- Run your remote on Railway with
hoist remote create railway --account <account> --repo OWNER/NAME. Until Hoista publishes a server image,--repois needed; see Set one up. - Delete a service or database at Railway after you confirm it by name.
Bring in existing resources
Hoista looks for services when you connect. In Desktop, add them as described in Bring in an existing project. From the CLI:hoist projects manage my-app when you want Hoista to make changes. To look again, run hoist accounts refresh <account> with the name or ID from hoist accounts.
Related
Providers
What Hoista supports on each provider.
Connect hosting accounts
Connect, check and rotate accounts.
Bring in a project
Add what an account already runs.